In today’s digital-first world, having a professional website is no longer optional for real estate agents. A well-designed website can help you showcase listings, build trust with clients, and generate leads—all without breaking the bank. In this guide, we’ll explore how you can create a stunning real estate website on a budget while maximizing its functionality and appeal.
Why a Real Estate Website is Essential
Before diving into the how-to, let’s address why a real estate website is indispensable. A website serves as your online business card, operating 24/7 to represent your brand. It allows potential clients to:
- View property listings at their convenience.
- Learn about your services and expertise.
- Easily contact you or schedule consultations.
Moreover, having an online presence boosts credibility and helps you compete with larger agencies. The good news? Building a great website doesn’t have to be expensive.
Planning Your Budget-Friendly Real Estate Website
Creating a website on a budget involves strategic planning and the right tools. Here’s what you’ll need:
- Domain Name
- Choose a professional, memorable domain name that reflects your brand.
- Cost: Around $10–$20 per year on platforms like Namecheap or GoDaddy.
- Web Hosting
- Opt for reliable yet affordable hosting services like Bluehost, SiteGround, or HostGator.
- Cost: Starting at $3–$10 per month, depending on the plan.
- Website Builder or CMS
- Use user-friendly platforms like WordPress, Wix, or Squarespace.
- WordPress is a popular choice for its flexibility and cost-effectiveness.
- Cost: Free for WordPress.org (with optional premium themes and plugins).
- Template or Theme
- Choose a real estate-specific template to save on custom design costs.
- Cost: Free to $50 for premium themes on marketplaces like ThemeForest.
- Essential Plugins (for WordPress users):
- Real Estate Plugins: For property listings and search functionality.
- SEO Plugins: To optimize your website for search engines (e.g., Yoast SEO).
- Cost: Free to $50 for advanced features.
Building Your Real Estate Website: Step-by-Step
Step 1: Register Your Domain and Hosting
Start by securing a domain name that’s short, brandable, and easy to remember (e.g., “YourNameRealty.com”). Pair it with a reliable hosting provider that offers good uptime and customer support.
Step 2: Choose a Website Builder or CMS
For beginners, website builders like Wix and Squarespace offer drag-and-drop simplicity. However, WordPress is a more affordable and scalable option, ideal for real estate websites with growing needs.
Step 3: Install a Real Estate Theme or Template
Most platforms offer pre-designed templates tailored to the real estate industry. These templates often include features like property galleries, map integration, and contact forms.
Step 4: Add Key Features
Make sure your website includes:
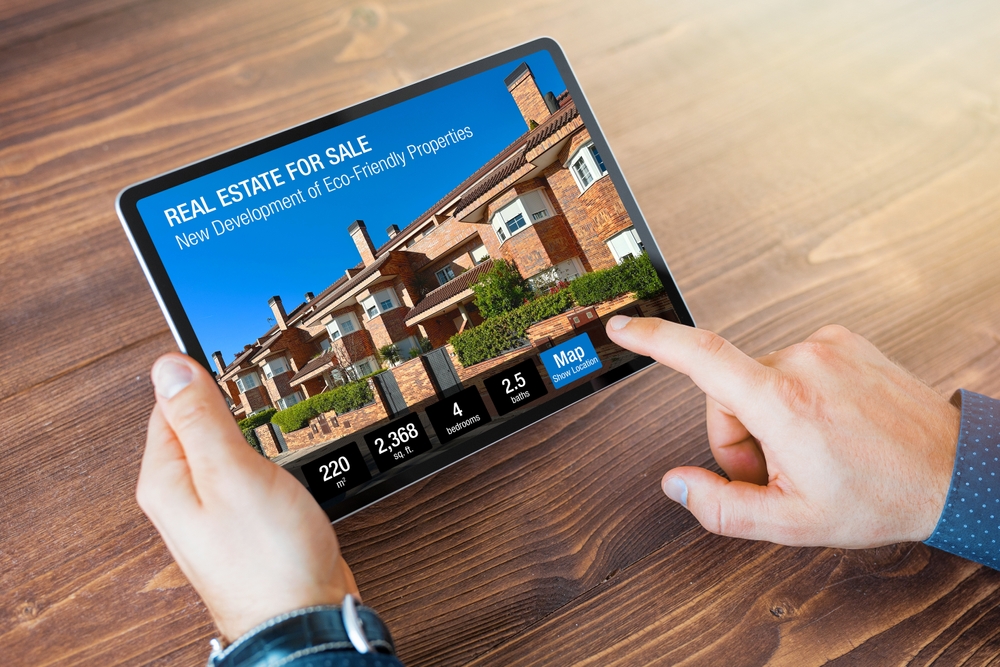
- Property Listings: Showcase your current listings with high-quality photos and detailed descriptions.
- Search Functionality: Allow users to filter properties by location, price, and features.
- About Page: Highlight your experience, services, and success stories.
- Contact Page: Include a form, phone number, and links to social media.
Step 5: Optimize for Mobile and SEO
- Mobile Optimization: Ensure your website looks and functions well on smartphones.
- SEO Optimization: Use keywords like “real estate agent” and “homes for sale” in your content to improve search rankings.
Step 6: Launch and Promote
Once your website is ready, promote it through:
- Social media channels.
- Email newsletters.
- Business cards and offline marketing materials.
Cost Breakdown for a Budget Website
| Component | Estimated Cost |
| Domain Name | $10–$20/year |
| Hosting | $3–$10/month |
| Website Builder/Theme | Free–$50 |
| Plugins/Extras | Free–$50 |
| Total | $100–$200/year |
Actionable Tips for Success
- Leverage Free Tools: Platforms like Canva can help create visuals for your website without hiring a designer.
- Focus on Content: Write engaging property descriptions and blog posts to attract visitors.
- Update Regularly: Keep your website fresh by adding new listings and blog content.
- Monitor Performance: Use tools like Google Analytics to track traffic and user behavior.
Conclusion
Building a real estate website on a budget is not only possible but also highly rewarding. By investing in the right tools and following the steps outlined above, you can create a professional online presence that attracts clients and drives business growth. Don’t wait—start building your real estate website today and take your career to the next level!